
 I want love in a pot! I'm sure this project couldn't be too hard to achieve. A little wire and some sort of climbing vine?? - is open to suggestions and green thumb advice (pic seen via Lolita blog)
Showing posts with label DIY. Show all posts
Showing posts with label DIY. Show all posts
Sunday, September 11, 2011
I WANT IT NOW : LOVE IN A POT
I want love in a pot! I'm sure this project couldn't be too hard to achieve. A little wire and some sort of climbing vine?? - is open to suggestions and green thumb advice (pic seen via Lolita blog)


Sunday, July 17, 2011

Saturday, June 11, 2011
SUNDAY READING : SWEET PAUL
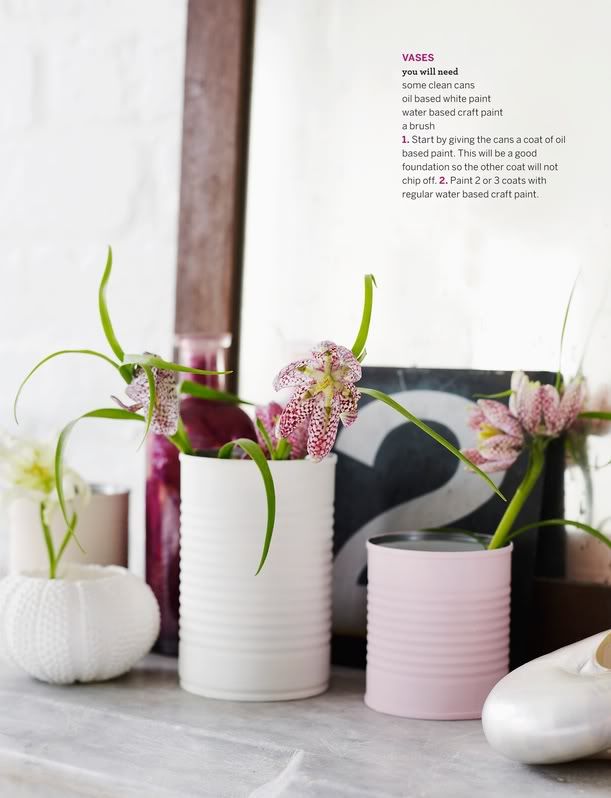
Sweet paul is an online 'homemade and handmade' foodies mag which contains beautiful food styling and photography, as well as a great mix of content (including this issue's article about using food to dye fabric) and of course delicious recipes! My fave sections for the summer 11 issue have to be the soda shop and summer cake goodies. Definitely put it on your Sunday reading list!


gorgeous cover!
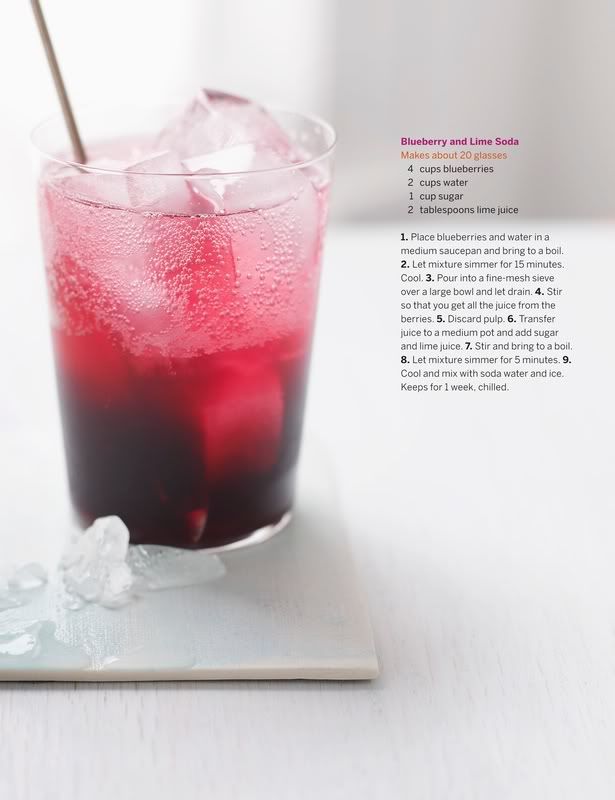
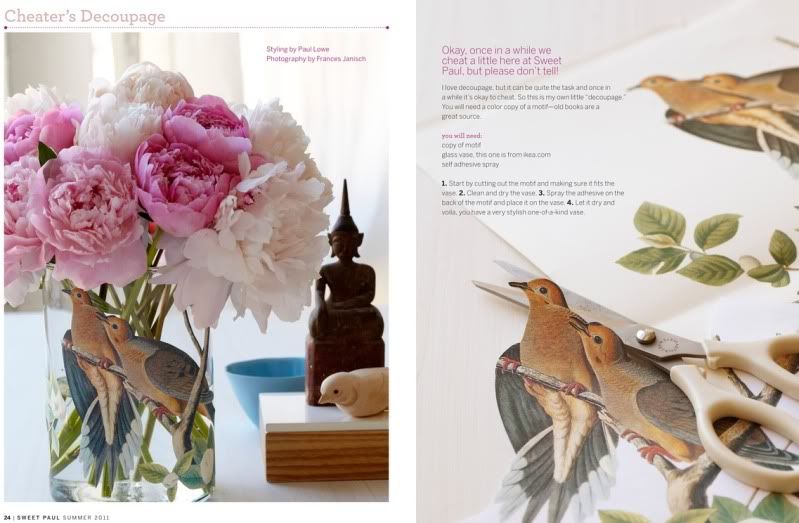
DIY decoupage vase (click to enlarge)

yum!
Sunday, April 10, 2011
EYE CANDY : UNION JACK MAKEOVER
 Im so envious that this dresser doesn't belong to me! I'm loving the imperfect paint strokes and graphic look, as well as those crystal handles. Antique meets graphics; A great Before & After furniture makeover from Design*Sponge. It's going on my DIY to do list!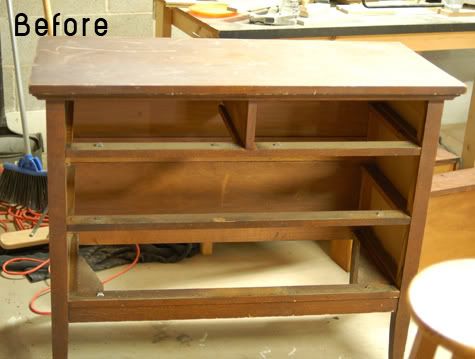

Tuesday, March 15, 2011
HAND MADE BUY OF THE DAY : DIY ANGRY BIRDS

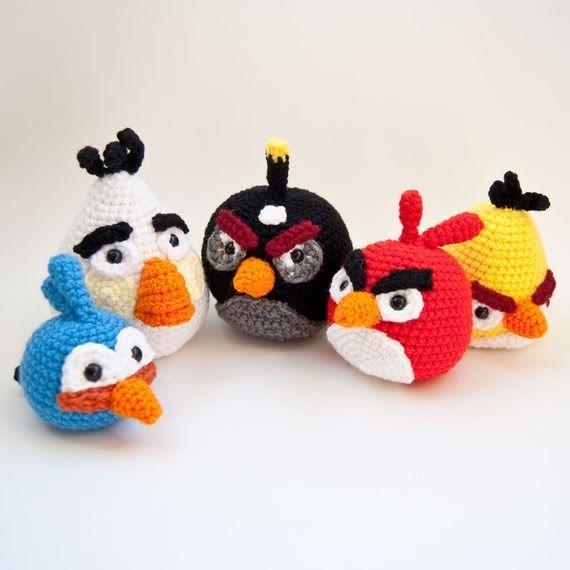 First released by Rovio mobile in December 2009 for Apple, the game Angry Birds has since sold over 75 million copies worldwide and shows no signs of slowing down. The addictive puzzler is reported by wired.co.uk to be "the first waste of...time that can be accurately quantified. Every day, users spend 200 million minutes - 16 years every hour- playing the mobile game. Three trillion pigs have been popped." That's a lot of screen time! Enough for some to fall in love with the characters and want to crochet them into 3D friends? I'd say so..Check out this Etsy buy from The Itsy Bitsy Spider store; The patterns for all 6 birds are emailed to you for US$18 and you're able to start crafting within 24 hours. More smile-enducing patterns available online here.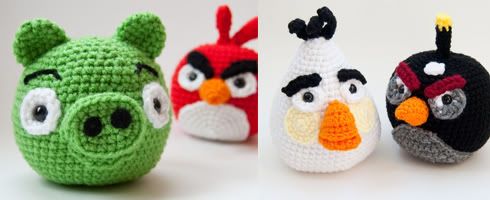
Tuesday, February 15, 2011
EYE CANDY : the glamourai: { before + after } bedroom furniture
 Love these great DIY makeovers by Kelly from The Glamourai. Quick, easy and inexpensive equals the perfect DIY job...all you need is a little creativity! Check out the full post by following the link below.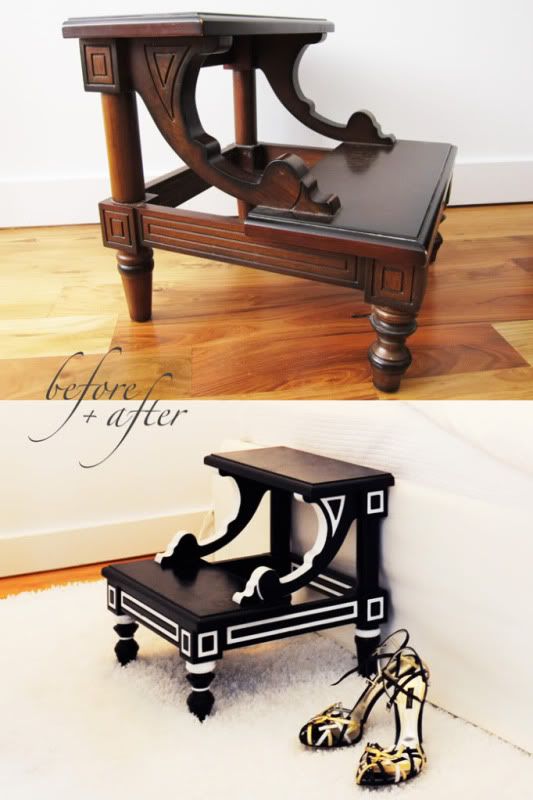

the glamourai: { before + after } bedroom furniture: "i've always been a compulsive improver, a serious DIY addict. i can't look at anything without thinking how i can make it better! this t..."
Monday, January 31, 2011
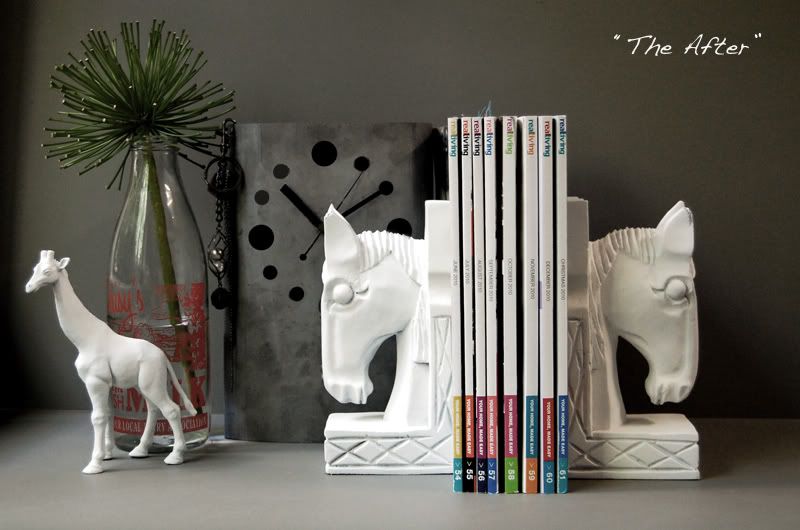
DIY : WHITE OUT PART DEUX
As promised on yesterday's DIY post here is "The After" shot! The 3 amigos casually crisp and cool as they look after my burgeoning collection of Real Living Mags. Ahhh the finished product = DIY fulfilment...

Sunday, January 30, 2011
DIY : WHITE OUT
This is a great weekend project that I thought Id share because it is a quick, inexpensive way to turn everyday items into statement decorator pieces.
Everyone knows the quickest way to update your decor is paint... and spray paint is even faster!
I picked up this set of bookends and kids toy giraffe ( for a grand total of $2.50) some forgotten amount of years ago and they have been sitting around looking glum ever since. So over the last couple of days I'm sure they were as thrilled as any inanimate objects can be when I turned my DIY eye upon them. Follow the steps below for your own faux porcelain look and stay tuned for the results in the next couple of days once I get the 'after' pics uploaded.


The first step is always preparation. You are going to need a clean, dust free (and lightly sanded if it's wood or previously painted) object of choice. You will also need a can of undercoat/primer and matt/flat white spray paint. (I got mine from bunnings, but $2 stores generally have them as well) Then set up your 'spray zone' in a well ventilated place with a drop cloth or newspaper to catch the overspray - this is best done outside away from anything you wouldnt want to turn white as well, aka your car, cat or dog.
 You are ready to spray the undercoat now...If you are doing multiple objects make sure to space them well to avoid having to pick them up and turn in the middle of things. Most primers need 24hours to set so plan ahead and be patient :)
Originally I had planned to use a gloss enamel (something I had lying around) for the top coat but I actually liked the matt gray look of the primer and when I applied the first coat of gloss white I was a little disappointed with the look and coverage. So a trip to Bunnings and a day later I had my $8 can of flat white and a feeling of DIY contentment.
Im really liking the look and will share the finished product soon! Any questions or advice let me know. Happy Monday!

Thursday, September 2, 2010
EYE CANDY : WHOLE LOTA PAINT CHIPS
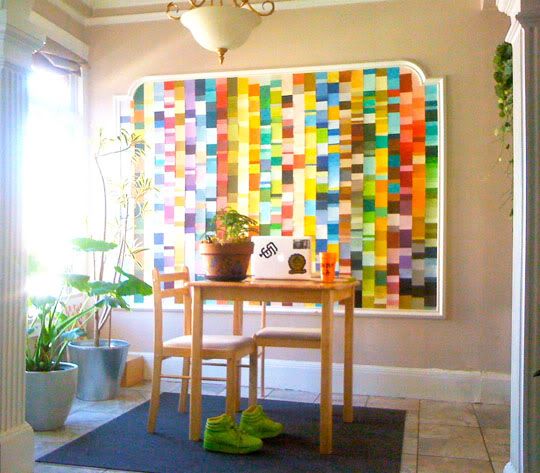 I've seen this idea before and love it. I always steal those paint chip cards and one day I might have enough for a wall! Originally I used them for colour-way ideas and samples on design moodboards at uni but now its just habit...one of these days I'll get black-listed from hardware stores in Brisbane. Posted on Apartment Therapy
Sunday, June 6, 2010
A POSSIBLE DIY
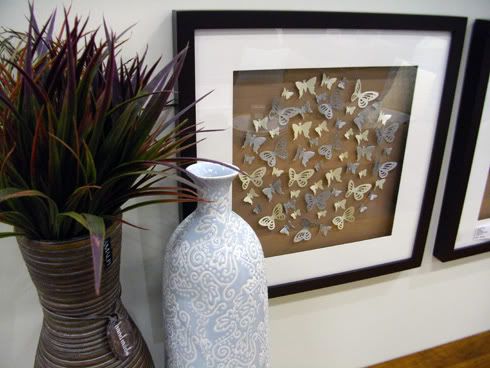
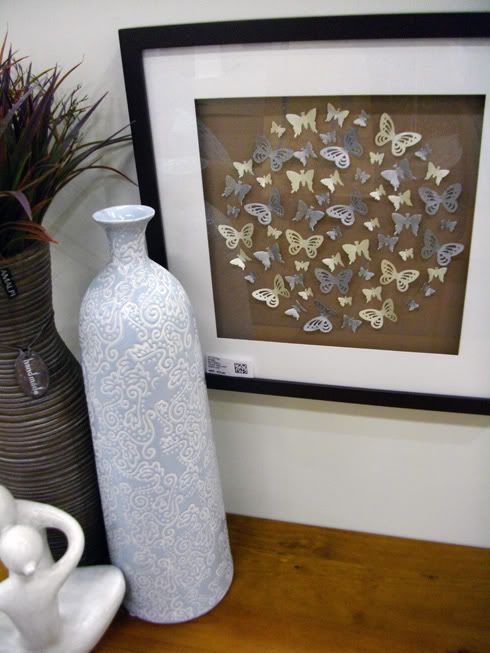
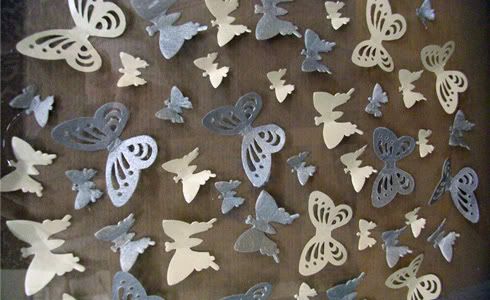
Last week I happened across this artwork for sale in a local furniture store. Something so simple is super effective, and while I'm not sure the boyfriend would dig the Butterfly look I wonder if I could make something similar...I was think Letters or numbers, hearts or ??? I liked how they did Two in a group (which I neglected to photograph) it gave more substance to the display, and how they were hung to just hover over a side table. They were priced at $80, so I think if I could find some nice shadow box frames and textured paper I could save plenty!
Happy Monday!


Happy Monday!
Tuesday, May 18, 2010
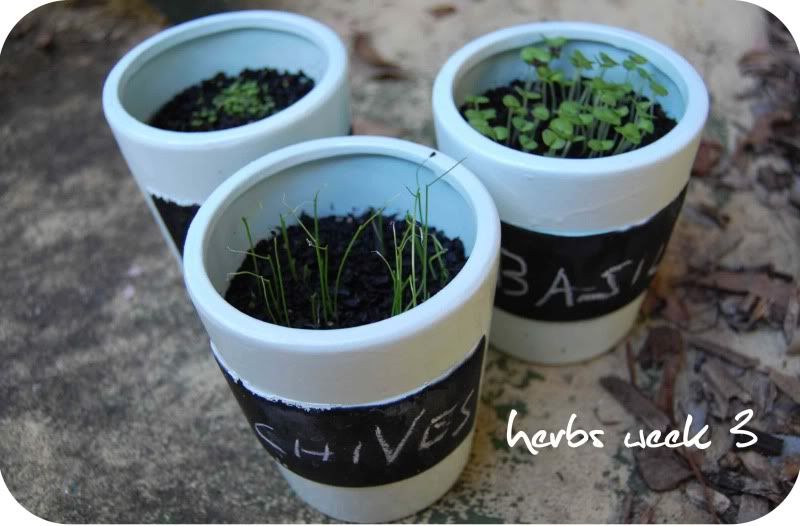
D.I.Y - POTTING HERBS : WEEK FOUR
Well its been one month now since I first potted my herbs, and with all my herby experience (fairly close to zero) I'd say they are doing well! My Basil is growing like a trooper - a fact I hope the other two are noticing. Im still hunting for the perfect spot with full sun throughout the day but Im keeping up with the watering and there aren't any signs of plant death on the horizon so all in all things are looking up! lets just keep our fingers crossed the recent cold weather won't slow them down too much...


Monday, May 17, 2010
D.I.Y - HOMEMADE POP TARTS

Pop Tarts were a rare treat for me as a kid and I absolutely loved them! The boyfriend once got me a box for my birthday and he was in the good books for weeks! That is probably the reason he sent this link to me for homemade versions of the Pop Tart. I did bake a batch of cinnamon ones already and am looking forward to a 'jam session' soon :)
(check out my tips at the bottom for a better tart)
-------------------------------------------------------------------------------------------------
HOMEMADE POP TARTS
The recipe is from Smitten Kitchen
PASTRY
2 Cups plain flour
1 Tblsp sugar
1 tsp salt
1 cup unsalted butter (chopped)
1 large egg
2 tblsp milk
1 additional egg for brushing the party
CINNAMON FILLING
1/2 Cup brown sugar
1 to 1 1/2 tsp ground cinnamon (depends how much you like it!)
2 tsp plain flour
JAM FILLING
3/4 cup jam
1 tblsp cornstarch mixed with 1 tblsp cold water
(ALTERNATE FILLINGS -
9 Tblsp choc chips, 9 tblsp Nutella or 9 tblsps of your choice!)
-------------------------------------------------------------------------------------------------

TO MAKE CINNAMON FILLING
whisk together sugar, cinnamon and flour
TO MAKE JAM FILLING
Mix the jam with the cornstarch/water in a small saucepan. Bring mix to boil and simmer, stirring for 2 mins. Remove from heat and set aside to cool.
TO MAKE PASTRY
Whisk together the flour, sugar and salt.
Work in butter with finger tips (or in a blender) until pea-sized lumps of butter are still seen and the mix holds together if you squeeze it. (If you used a blender transfer mix to a large bowl now). Whisk the first egg and milk together and stir them into the dough until just combined, knead briefly on a floured surface if needed.
ASSEMBLE TARTS
Divide the dough in half, shape each half into a smooth rectangle about 3x5 inches. (if dough is too warm at this stage you can refrigerate it -for up to 2 days) Place one piece on a lightly floured surface and roll out into a rectangle (about 1/8 inch thick) large enough that you can cut it into 9 rectangles about 3 x 4 inches each.(repeat with second rectangle)
 Beat the additional egg and brush it over the entire surface of the first dough. This will be the 'inside' of the tart; the egg helps glue the lid on. Place a heaped tblsp (or more) of filling into the centre of each rectangle, keeping a small 1/2 inch perimeter bare. Place a second rectangle on top of the first and press firmly around the edge of the pocket sealing all sides. Press the prongs of a fork all around the edge and pierce the tart multiple times with the fork to let the steam escape. Repeat with the other tarts.
Place tarts on a lightly greased and lined baking tray. Refrigerate the tarts for 30mins while you preheat the oven to 350F (about 180 degrees Celsius) Then bake for 20 to 25 minutes until they are a light golden brown, allow to cool.

TIP - use real butter! I tried to skimp with the margarine I had in the fridge and the pastry wasn't as good as it would have been. Don't go easy on the filling...more is more in this case, the dough is fairly thick and can overpower a mild or insufficient filling. Do eat them while they are warm - delicious!
Wednesday, May 12, 2010
Tuesday, May 4, 2010
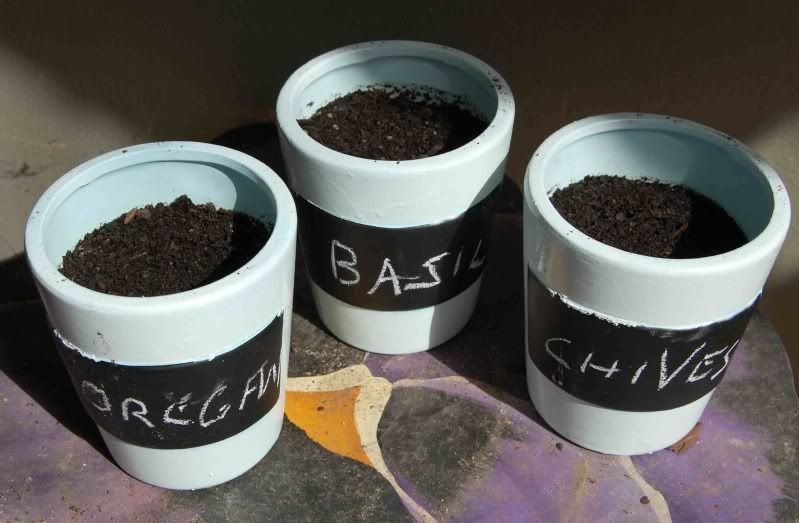
D.I.Y - POTTING HERBS : WEEK TWO
Here are the first two weeks in the baby lives of my herbs. My pots didn't turn out quite as white as I was hoping (should have done another coat of paint!) but otherwise everything is moving along swimmingly! The Basil are the faster growers but I wish it was the Chives; can't wait until they are ready for harvesting! yum yum
WEEK 1 WEEK 2

 WEEK 2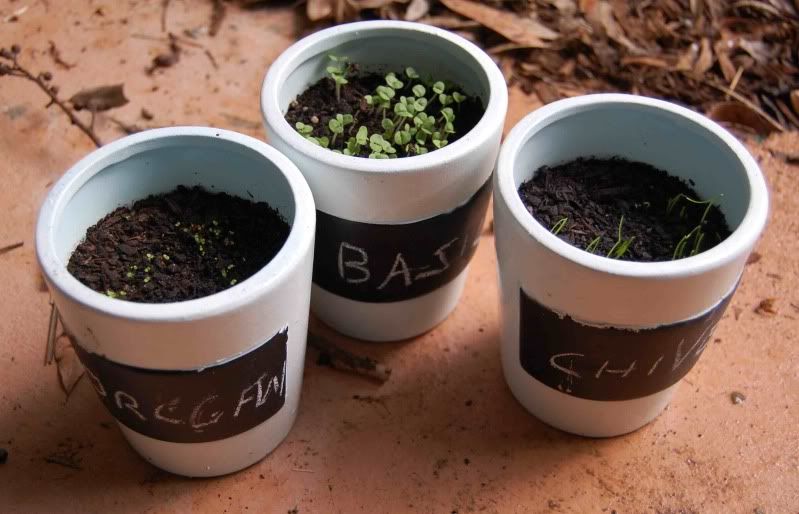
Wednesday, April 14, 2010
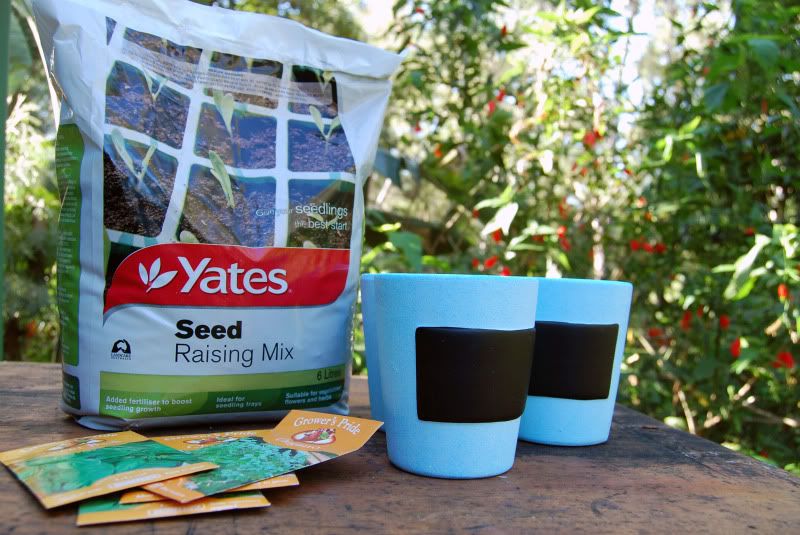
D.I.Y - POTTING HERBS
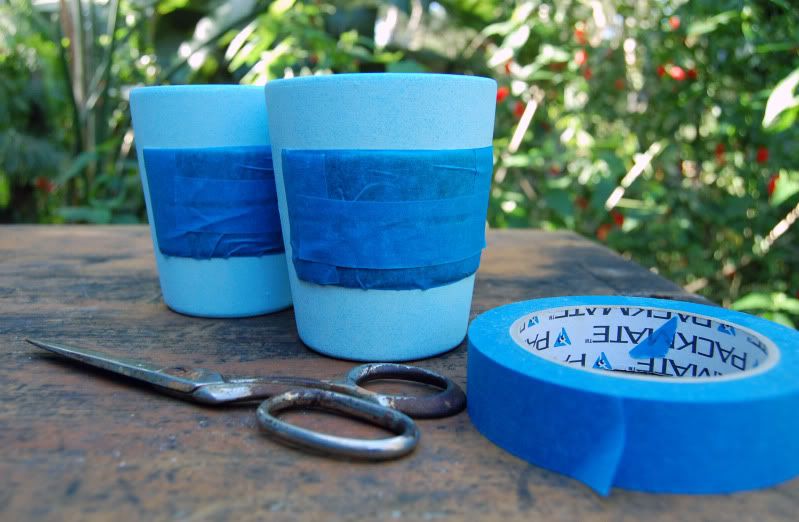
For a couple of years now I have wanted to grow my own herbs but never got around to it. So for my birthday recently when I was given a set of little pots, my herb-craving was re-ignited! Finally this week I went out and got some seed packets and soil from my local hardware store and I'm all ready to go! Pity that the box the pots came in had a photo of white pots and inside were blue pots...never mind; its a good 'ol can of spray paint to the rescue. I taped up the little chalkboard plaques (where you write the herb names) and sprayed away today in the fading afternoon light. Tomorrow is potting time and come 10-14 days I will see the fruits...er herbs...of my labour! Stay tuned...
Subscribe to:
Posts (Atom)


 Posts
Posts


