This is a great weekend project that I thought Id share because it is a quick, inexpensive way to turn everyday items into statement decorator pieces.
Everyone knows the quickest way to update your decor is paint... and spray paint is even faster!
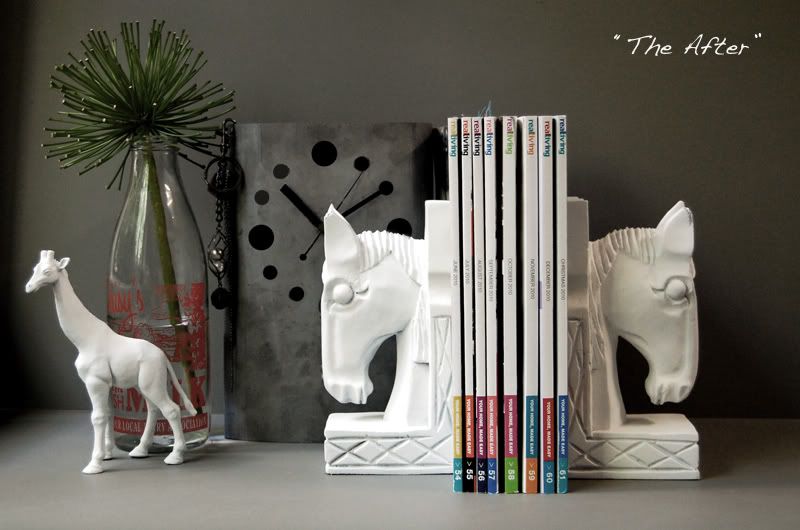
I picked up this set of bookends and kids toy giraffe ( for a grand total of $2.50) some forgotten amount of years ago and they have been sitting around looking glum ever since. So over the last couple of days I'm sure they were as thrilled as any inanimate objects can be when I turned my DIY eye upon them. Follow the steps below for your own faux porcelain look and stay tuned for the results in the next couple of days once I get the 'after' pics uploaded.


The first step is always preparation. You are going to need a clean, dust free (and lightly sanded if it's wood or previously painted) object of choice. You will also need a can of undercoat/primer and matt/flat white spray paint. (I got mine from bunnings, but $2 stores generally have them as well) Then set up your 'spray zone' in a well ventilated place with a drop cloth or newspaper to catch the overspray - this is best done outside away from anything you wouldnt want to turn white as well, aka your car, cat or dog.
 You are ready to spray the undercoat now...If you are doing multiple objects make sure to space them well to avoid having to pick them up and turn in the middle of things. Most primers need 24hours to set so plan ahead and be patient :)
Originally I had planned to use a gloss enamel (something I had lying around) for the top coat but I actually liked the matt gray look of the primer and when I applied the first coat of gloss white I was a little disappointed with the look and coverage. So a trip to Bunnings and a day later I had my $8 can of flat white and a feeling of DIY contentment.
Im really liking the look and will share the finished product soon! Any questions or advice let me know. Happy Monday!


 Im so envious that this dresser doesn't belong to me! I'm loving the imperfect paint strokes and graphic look, as well as those crystal handles. Antique meets graphics; A great Before & After furniture makeover from Design*Sponge. It's going on my DIY to do list!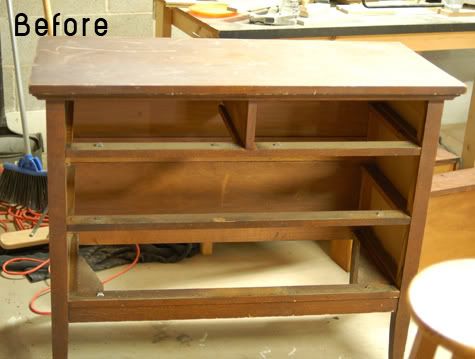






 Posts
Posts


